DIY Projects
Illuminating Ambiance: A Step-by-Step Guide to Installing a New Light Fixture
Adding a new light fixture to your space can transform the ambiance, enhance the aesthetics, and improve functionality. Whether you’re looking to upgrade an outdated fixture or illuminate a newly decorated area, installing a new light fixture is a satisfying DIY project. In this comprehensive guide, we’ll walk you through the process of installing a new light fixture step-by-step. From gathering the necessary tools to safely connecting the wiring, you’ll soon have a beautifully illuminated space that reflects your personal style and taste.
Tools Required: Before diving into the installation process, gather the following tools to ensure a smooth and efficient installation:
- Stepladder or ladder
- Screwdriver set (flathead and Phillips)
- Wire strippers
- Wire connectors
- Circuit tester
- Needle-nose pliers
- Electrical tape
- Wire nuts
- Adjustable wrench
- Safety glasses
- Voltage detector
Step 1: Preparation and Safety Precautions Before beginning any electrical work, it’s crucial to prioritize safety. Here’s what you need to do:
- Turn off the power: Locate the circuit breaker that controls the light fixture you’re replacing and switch it off.
- Confirm the power is off: Use a voltage detector to ensure there’s no electrical current running through the wires.
- Prepare your workspace: Place a stepladder or ladder beneath the fixture and ensure you have enough room to work comfortably.
Step 2: Remove the Old Fixture Follow these steps to remove the existing light fixture:
- Remove the cover or globe: If your fixture has a cover or globe, carefully unscrew or unclip it and set it aside.
- Disconnect the wires: Unscrew the wire nuts connecting the fixture’s wires to the electrical box wires. Gently pull the fixture away from the box once the wires are disconnected.
- Remove the mounting screws: Using a screwdriver, remove the screws securing the fixture to the electrical box. Keep the screws in a safe place, as you may need them later.
Step 3: Wiring and Grounding Proper wiring and grounding are essential for the safe operation of your new light fixture. Follow these guidelines:
- Examine the electrical box: Inspect the electrical box to ensure it’s secure and suitable for the new fixture. Replace the box if damaged or insufficient.
- Install the mounting bracket: If your new fixture requires a mounting bracket, attach it to the electrical box using the provided screws.
- Connect the grounding wire: Connect the grounding wire from the electrical box to the grounding wire of the new fixture. Twist the wires together and secure them with a wire nut. If there’s no grounding wire in the box, consult an electrician for guidance.
- Connect the neutral and hot wires: Match the corresponding wires from the electrical box to the wires of the new fixture. Connect the neutral (usually white or gray) wires together and the hot (usually black or red) wires together, again using wire nuts. Tug gently on each wire to ensure a secure connection.
- Tuck the wires and secure the fixture: Carefully tuck the connected wires into the electrical box, ensuring they’re not pinched or exposed. Secure the new fixture to the mounting bracket using the provided screws.
Step 4: Finishing Touches and Testing With the new light fixture securely in place, it’s time to add the finishing touches and test its functionality:
- Attach the cover or shade: If your new fixture includes a cover or shade, follow the manufacturer’s instructions to attach it securely.
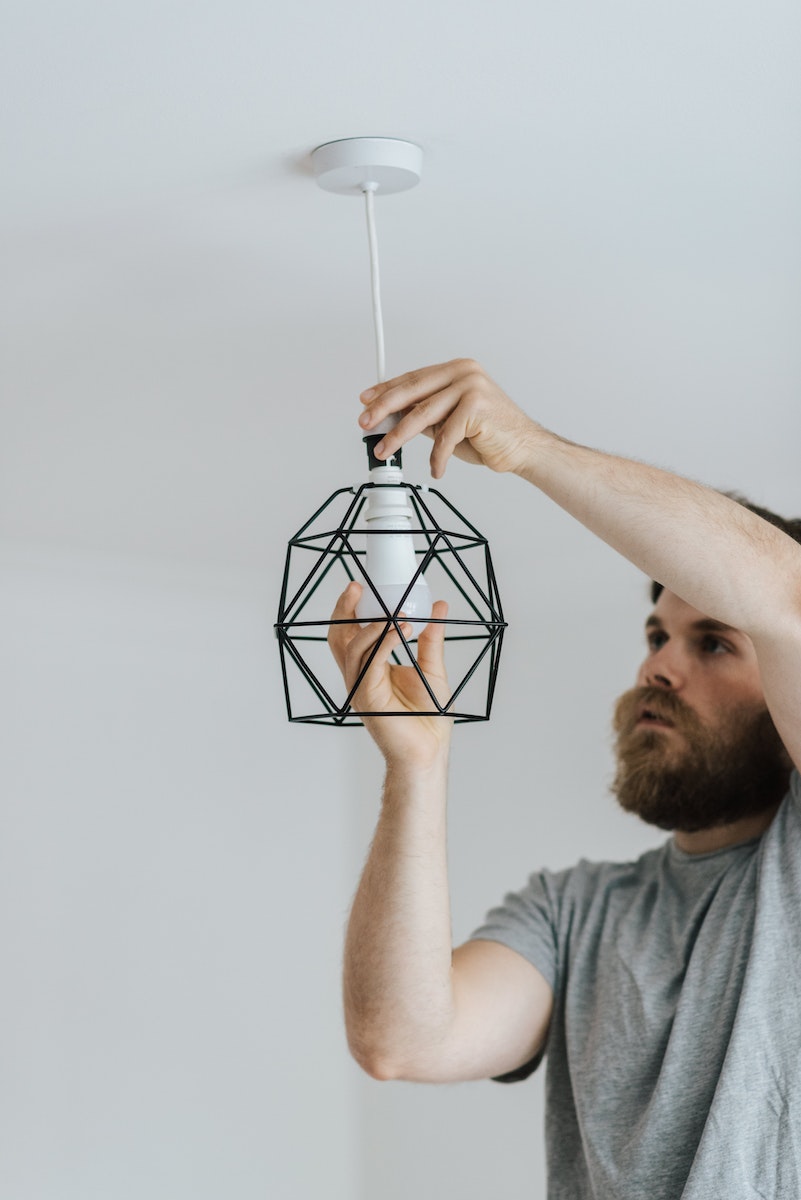
- Install light bulbs: Screw in the appropriate light bulbs for your fixture. Refer to the fixture’s manual for recommended bulb types and wattages.
- Turn on the power: Return to the circuit breaker and switch on the power to the light fixture.
- Test the fixture: Flip the light switch associated with the fixture to ensure it turns on and off properly. Use a circuit tester to confirm that the wires are correctly connected and there are no live wires.
Conclusion: By following this step-by-step guide, you can confidently install a new light fixture and brighten up your space. Remember to prioritize safety at all times, from turning off the power to properly connecting the wires. Enjoy the transformation as your new fixture illuminates your room, creating a warm and inviting ambiance tailored to your personal style.
![]()


 >
>